Friday, 18 May 2007

LED Clusters

The LEDs arrived this morning and plenty of these are needed now!! my eyes are hurting!!!

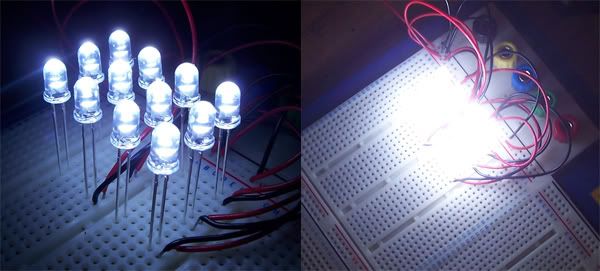
Just a sneak preview of how bright they are, this is only 12 LEDs. Each segment will have around 40 !!!!!!!


Tuesday, 15 May 2007

LED Clusters

The below (29/04/07) has now been finished and complete - and tidied to a much better standard than it was left in, however I haven't any pictures as it started to drizzle and wanted to get the car covered and safe from weather before it chucked down.

Wet weather work has started, design and mock up of the LED rear lights, and design of the loom has started - everyone that has owned a mini knows how unreliableable and shocking the electrics are in the mini - and this was to be one of the main priorities to replace when we started to rebuild.

Some mock up pictures for you, and the design.

Ordered some 5mm Ultrabrite LEDS from HK - £1.36 and they are 130,000MCD (in other words - f**king bright!)


Sunday, 29 April 2007

Rear Arch Repair

Things have taken some progress this weekend, I have started and nearly finished a doorcard, and I have got both visors sorted, but I didn't take any pictures because I know how boring it is to see some random fabric!!!

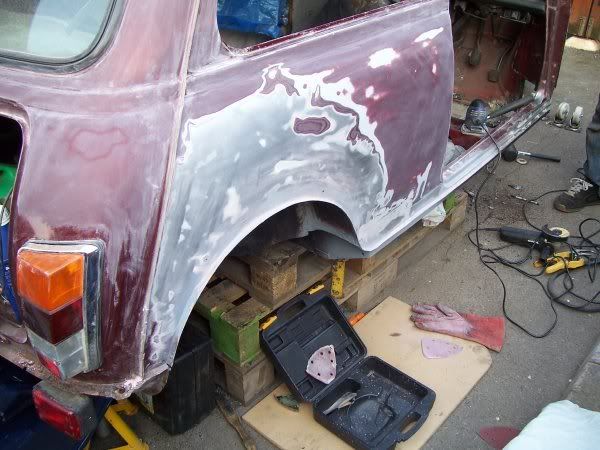
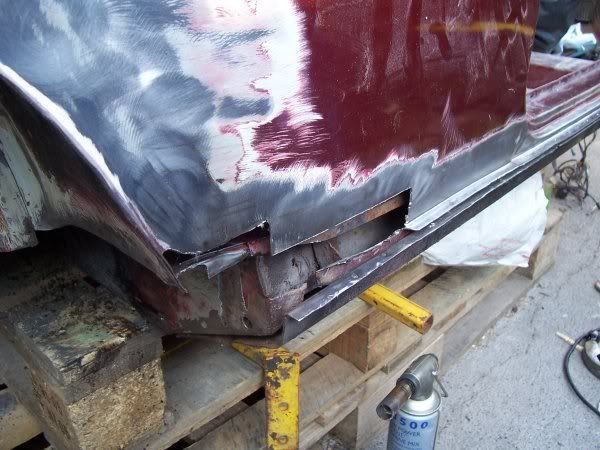
Here are the pictures from the weekends work, if you've been keeping up with the blog you'll see the bits that have been added in and I have sat outside and skim filled over the top of them.

Not really much else to say so I'll get on with the pictures.


Friday, 27 April 2007

Companion Bin Repair!

Here is the "Companion bin closing plate' welded in and done.


Door step complete, and you can just see the template to make that rear bit, as they don't do a 'repair' panel, you can only buy a huge lump including the sill.


Door fits nicely!

Re-trim

This won't be a very interesting update - but I'm doing interior retrimming - I'm wondering why I don't do this for a living??!! HAHA!

Total spent on material: £12 (for a 3 sheets that would carpet several living rooms)
Total spent on foam: £7 (for a sheet that would carpet several living rooms)
Total spent on machine: £FREE!

I work this out to be cheaper than getting a company to do it for you, I found that one re-trimmed sunvisor was £25!!!!!!!

My weapon of choice, a Singer 748 (has a sticker saying 1300SPM!!!) this was a free machine from FREECYCLE - got to love it! (www.freecycle.org)


I cut some card from a Strongbow box - I'm an alkieholic! hehe! Good excuse to get another box maybe? The layers worked out as:
Foam > Card > Metal Frame > Card > Foam


I'm not hot on this sewing machine stuff, it was my first attempt since school, the top one is the second and the bottom one is the first.


Then I glued all my layers together with Industrial Spray Mount, and tried to work out how to get the layers into my material pouch?!

Little bit of a push and struggle I got them in....

Saturday, 21 April 2007

Drivers Side

Well, just to prove that there is no slacking going on, I'll update a little. (I'll try and explain so you understand, but I'm never good with words!)

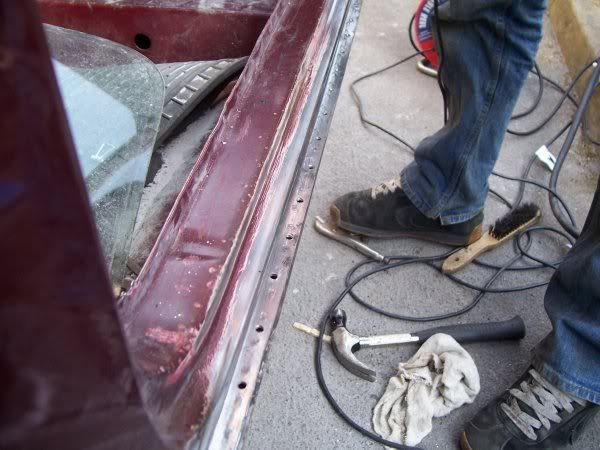
The new outer sill wasn't welded on very well (previous owner) - so tidying of the bird poo welds and re-welding the panel properly has been started, and general tidying up and sorting out. Not much really left on the drivers side to do, few little bits really, and the most major part is part of the rear arch (outer). Which is a lot less than we'd have had to do on Mutley Mk1, most of the rear arch would have needed replacing. So it's saved time and money on that front.

Anyway, picture time!

Rear arch section that needs replacing, shouldn't be to tricky, and this is the most major bit we have to do, which is nice. You can see the old sill inside the new one - I'm not sure what has gone on here, I think it was to do with them lining up the new one?! You can also see that huge bare metal patch... it was covered in filler - but nothing underneath - panel is totally straight as well - again not sure what's going on there?!?!?!?!


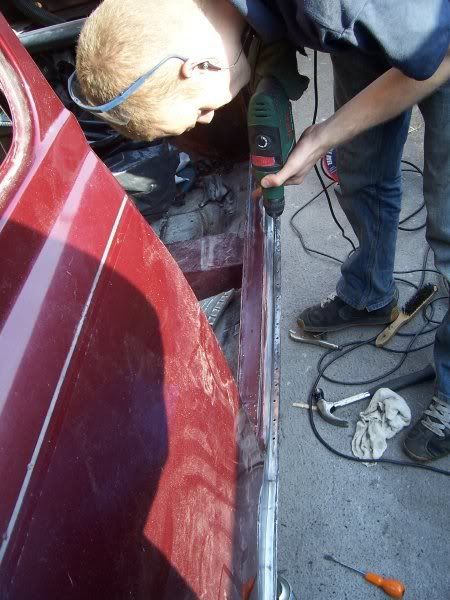
Tidying the sill and drilling the wholes to weld it on properly, I'm really pleased how clean this shell is - just minor bits and bobs to do really.


Ready for spotting - I was feeling a bit artistic at this point, can you tell?


I think we are on target to finish and get the shell solid before the end of summer, hopefully even before the end of summer. Fingers crossed!

I'm getting excited about the prospect of seeing 'him' sprayed and looking lovely - as I have been doing lots of bits and bobs with trim etc.